Shutter Speed: 1/240 sec
Aperture: f/5.2
First I imported into Lightroom. Then I cropped out the log on the left and changed the exposure and contrast. Finally, I increased the red-ish color in the picture.
Shutter Speed: 1/250 sec
Aperture: f/5.6
First I imported the picture into Lightroom. Then I changed the exposure and brightness, and increased the red colors in the picture. Finally, I put the picture in Photoshop and clone stamped out the tree on the left.
Shutter Speed: 1/250 sec
Aperture: f/5.9
First, I imported the picture to Lightroom. Then i increased the brightness and decreased the green colors in the picture and increased the blacks and oranges.
Shutter Speed: 1/480 sec
Aperture: f/5.8
First I imported the picture into Lightroom. Then I cropped out the red cliff at the top. Finally, I clone stamped out the black spot in the bottom left corner.
Tuesday, February 19, 2013
Thursday, February 14, 2013
Frozen Motion Practice
Aperture: f/3.4
The picture turned out well and it is not blurry.
The picture turned out well and it is not blurry.
Shutter Speed: 1/60 sec
Aperture: f/4.2
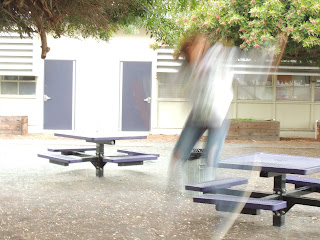
The picture turned out okay but Charlotte's feet are a little blurry.
Shutter Speed: 1/4 secAperture: f/8.6
The picture turned out horrible and Charlotte is just a blurry blob.
Tuesday, February 12, 2013
Texture Layers, Opacity & Blending Modes
First I exported both pictures from Lightroom to Photoshop. Then I copied the texture picture and pasted it on the picture of the shoes. I changed the opacity to 27% and selected blending mode normal. The texture overlay adds a feeling of oldness to the picture and makes it look more vintage.
Tuesday, February 5, 2013
Text With Layer Blending Modes
First I opened photoshop and added a gradient background. I used normal mode, linear gradient, in the purple/pink color. Then I typed the word "meow" in the font poplar std, size 190 pt, in the color maroon. After, I used the warp text tool and added the fisheye effect and bent it +67%. Next I used the drop shadow tool in the blend mode linear burn, opacity 87%, angle -143. Then i used the inner shadow post with blend mode multiply, opacity 75%, angle -143. After I used the pattern overlay tool with blend mode normal and opacity 24%. Next I used the bevel and emboss tool with the contour inner bevel, depth 171%, in the down direction. Finally, I used the stroke tool in the size 4 px, outside position, blend mode normal, and fill type color.
Subscribe to:
Comments (Atom)


